Wednesday 13 December 2017
Tuesday 12 December 2017
Monday 11 December 2017
Friday 8 December 2017
Thursday 7 December 2017
Wednesday 6 December 2017
Registration day
 Today, Rachel, Hazel, and Room 7 came to Room 8, our classroom. Rachel and Hazel introduced us to the Summer Learning Journey, a program when students can post works into their blogs in the holidays. they give us topics that we can blog. the also give us 60 activities to do when we are not doing anything in a boring day. This summer's topic is all about New Zealand's history from 2 centuries ago. Last winter was about traveling New Zealand and last summer's topic was the whole world. I am looking forward to doing this in the holidays.
Tuesday 5 December 2017
Wednesday 15 November 2017
Being Mortal or Immortal
In Religious Education we were talking about Mortal and Immortal.
After creating a brief explanation, we then has to consider an image that represented our understanding.
 Recognise that the Soul is the spiritual dimension of a person.
What is the difference between Mortal and Immortal?
Being Mortal means having a Physical death, but living forever after your death. A Physical death means your body dies, but your Soul lives on. Our Souls are Immortal themselves, because they live forever, leaving our body to decompose.
Difference between infinite and being immortal.
Infinite means to go on forever, like our Space. Being immortal means to have immortal life.
The Gift of the Body and Soul
At the moment of their conception, God begins a relationship with each person.
A person's soul permeates who the whole person is.
God breathes life into a person's soul which will never die.
The soul is the gift by which people are connected to God.
Each person is a unique and sacred work of art created by God.
Parents give the gift of the body but God creates the soul that gives life to a person.
I have a soul which was created by God by Breathing life into it.
Wednesday 25 October 2017
Thursday 28 September 2017
Tuesday 5 September 2017
Friday 18 August 2017
Thursday 27 July 2017
Wow, sketching really get's your boredness away!!!
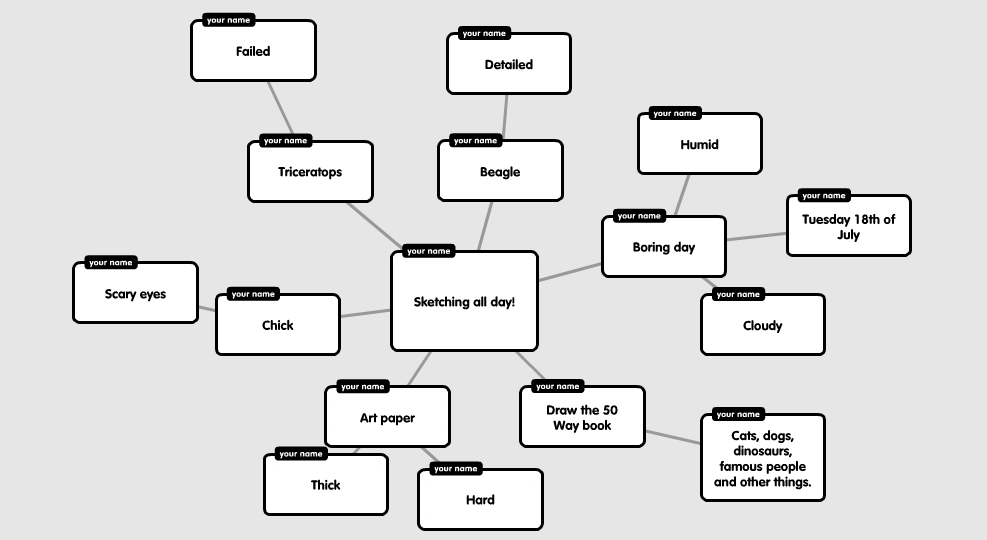
There was that one day in the holidays. It wasn't a very nice and happy day, but a boring and humid day. It was Tuesday 18th of July when I noticed that we borrowed a drawing book from the library the day before, Draw the 50 Way. I asked my sister, "Can I borrow one of you art paper?" And she agreed. So as I take the paper from my sister's grip, I felt the thick and firm feeling of the paper. I took a pencil and started flipping the pages nervously.
 I flipped the every page before the drawing I picked, a Triceratops. It looked quite easy, that's how it got my attention. I started with an oval and long line probably a centimeter and 2 millimeters beneath. It was for lining up the feet and the tail. Well, after that, I drew the tail and few of the legs and the head. Then I continued and as I got halfway through the drawing I made a few silly mistakes, so I took the rubber from my sister's pencil case. How long is this going to take, I thought. It's been 25 minutes since I drew the big oval. When I finished, I rubbed everything off and drew the outlines. It went kind of well on the body, but not the head, I didn't sketch it out. Instead, I drew it in a line art way. Well, that was a fail.
 The next one I drew was a chick, now this was easy. You don't need to rub off anything at the end. And that's not the only thing I liked about it, it had shading details. I started drawing, but this time, excitedly. I started with a small, horizontal oval and a horizontal curved line lying on the left-hand-side of it. As I continued, I got more excited that I made a lot of mistakes that I even had to rub all of it all, so I started again, calmly. When I got to the end, I noticed the beak. The thing I noticed was it looked like the beak was connected to the head like it's meant to have feathers too. So I drew a line to separate it. It still had scary eyes though.
Well, that was one way to make a boring day into an interesting day of the holidays.
Wednesday 14 June 2017
I better hurry up on my movable character!
Today was my day, this was the day when we make our movable character. I started on my character but didn't finish it, but if I started on the work, that means I know what to actually do. These are the materials for making it:
- Piece of wood
- Copy of a character you want (examples: Nightwing, Superman, etc.)
- Transfer ink paper
- Wood tracing burner
- Paint tray
- Paint
- Primer spray paint
- Scroll saw
- Safety glasses
- Drill
- Nuts and bolts
Procedure
- Take a piece of wood (20 cm x 15 cm) and make sure it isn't that thick so you can.
- Print out a copy of a character you would like and make sure it has the right size.
- Cut around the image of the character you chose.
- Get a transfer ink paper and tape it on the piece of wood.
- Do the same with the character, tape it on top of the transfer paper.
- Start drawing the outline of the character.
- Take just the transfer paper by the tape and you can see that it's probably exactly like the actual image.
- Ask an adult to run a scroll saw and while waiting, mark around your character with a pencil on where you're going to cut.
- Before cutting, get yourself safety glasses just to protect your eyes.
- Move your character forward and press it down the table while cutting, but turn it so you can get the shape that you want for it.
- Cut the arms, legs and even head if you want the head to move and drill holes at the edges, chin for the head, shoulder for the arms and the upper thigh for the legs.
- Put the bolts through the holes and the nuts after.
And you've made it, your movable character!!!
My fridge magnet was too big!
Today was a foggy day of Technicraft. I didn't really catch up to the other students, but I know what they did. We've been focusing on making fridge magnets, and these are the materials on making it:
- Piece of wood
- Copy of a character you want (examples: Iron man, Batman, etc.)
- Transfer ink paper
- Wood tracing burner
- Paint tray
- Paint
- Primer spray paint
- Scroll saw
- Safety glasses
- Stick-on magnet or Magnetic tape
Procedure:
- Take a piece of wood (22.5 cm x 15 cm) and make sure it's not too thick.
- Print out a copy of a character you would like and make sure it has the right size.
- Cut around the image of the character you chose.
- Get a transfer ink paper and tape it on the piece of wood.
- Do the same with the character, tape it on top of the transfer paper.
- Start drawing on the outline of the character.
- Take just the transfer paper by the tape and you can see that it's probably exactly like the actual image.
- Ask an adult to run a scroll saw and while waiting, mark around your character with a pencil on where you're going to cut.
- Before cutting, get yourself safety glasses just to protect your eyes.
- Move your character forward while cutting, but turn it so you can get the shape that you want for it.
- Put a stick-on magnet behind the wood after you've cut your character.
And there you have it, your magnificent fridge magnet!!!
Respect, do that often, will you!
 |
| We have to respect each other!!! |
Sign of respect
Congratulations when you treat others as you want to be treated
Speak courteously to everyone
Take special care to other's belongings
Honor the rules of your family, school, and nation
Expect respect for your body and your rights
Listen to older people that you can trust like you parents and teachers.
Wednesday 17 May 2017
Wednesday 12 April 2017
Monday 10 April 2017
Life among the mangroves!
Mud snails are little creatures that live close or even on the mangroves in our estuary. They are freshwater insects that has different shells from the common snails you see from your backyard. These are the ones!
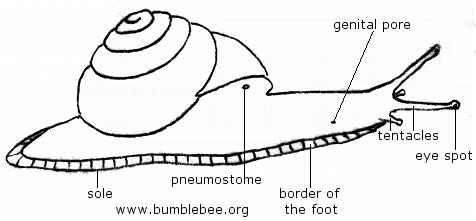
I already have it up on the first paragraph, mud snails live around mangroves, sea or land. They eat mostly blue-green bacteria, microscopic diatoms and sea lettuce. These are some pictures of what I just wrote:
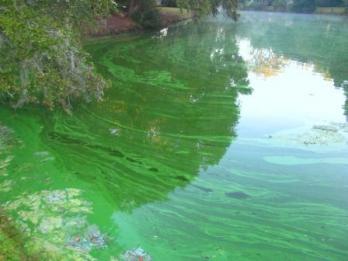
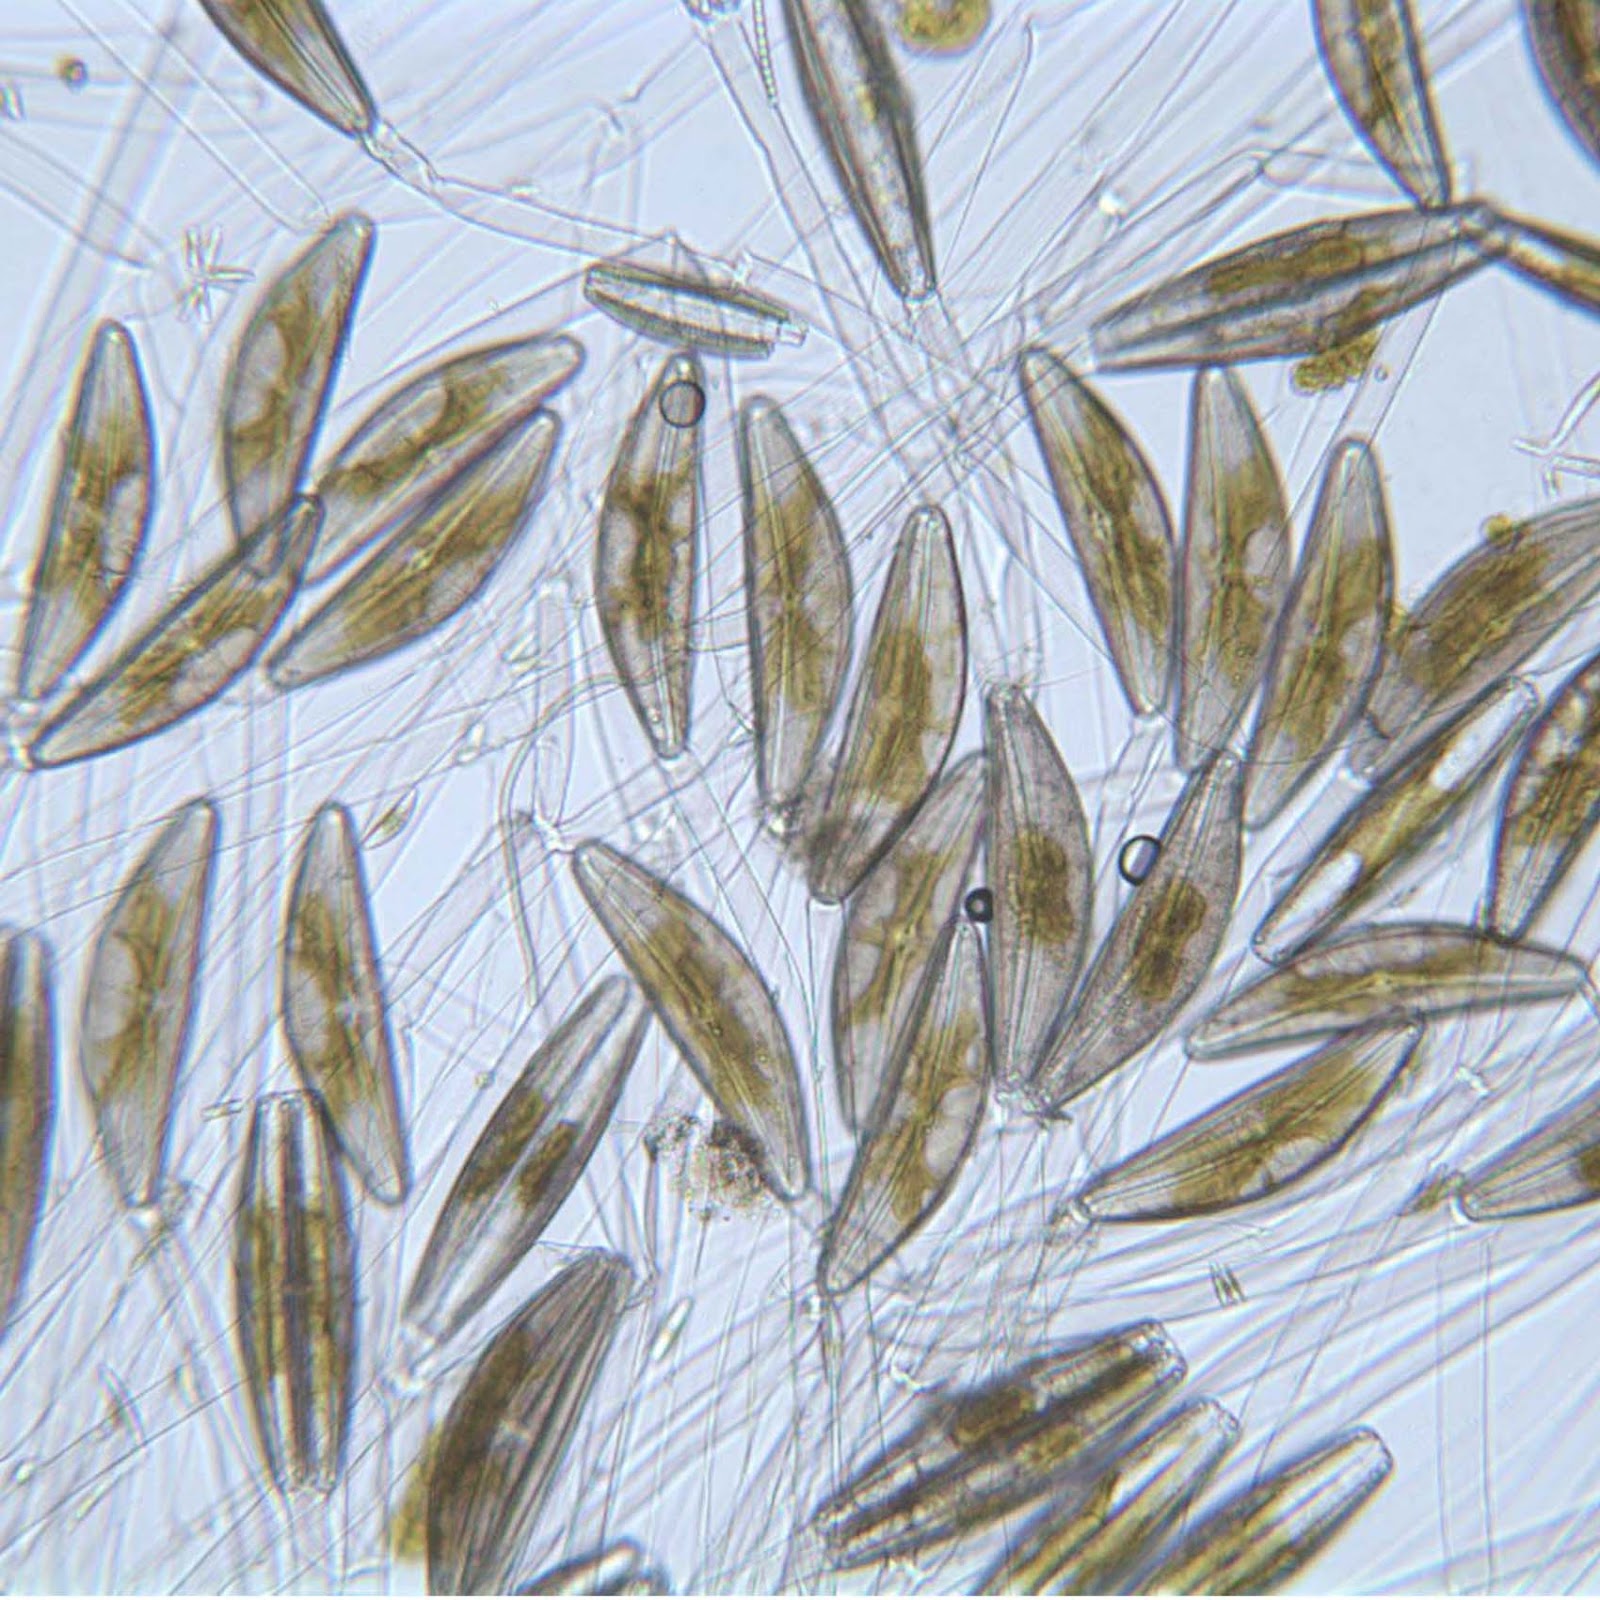

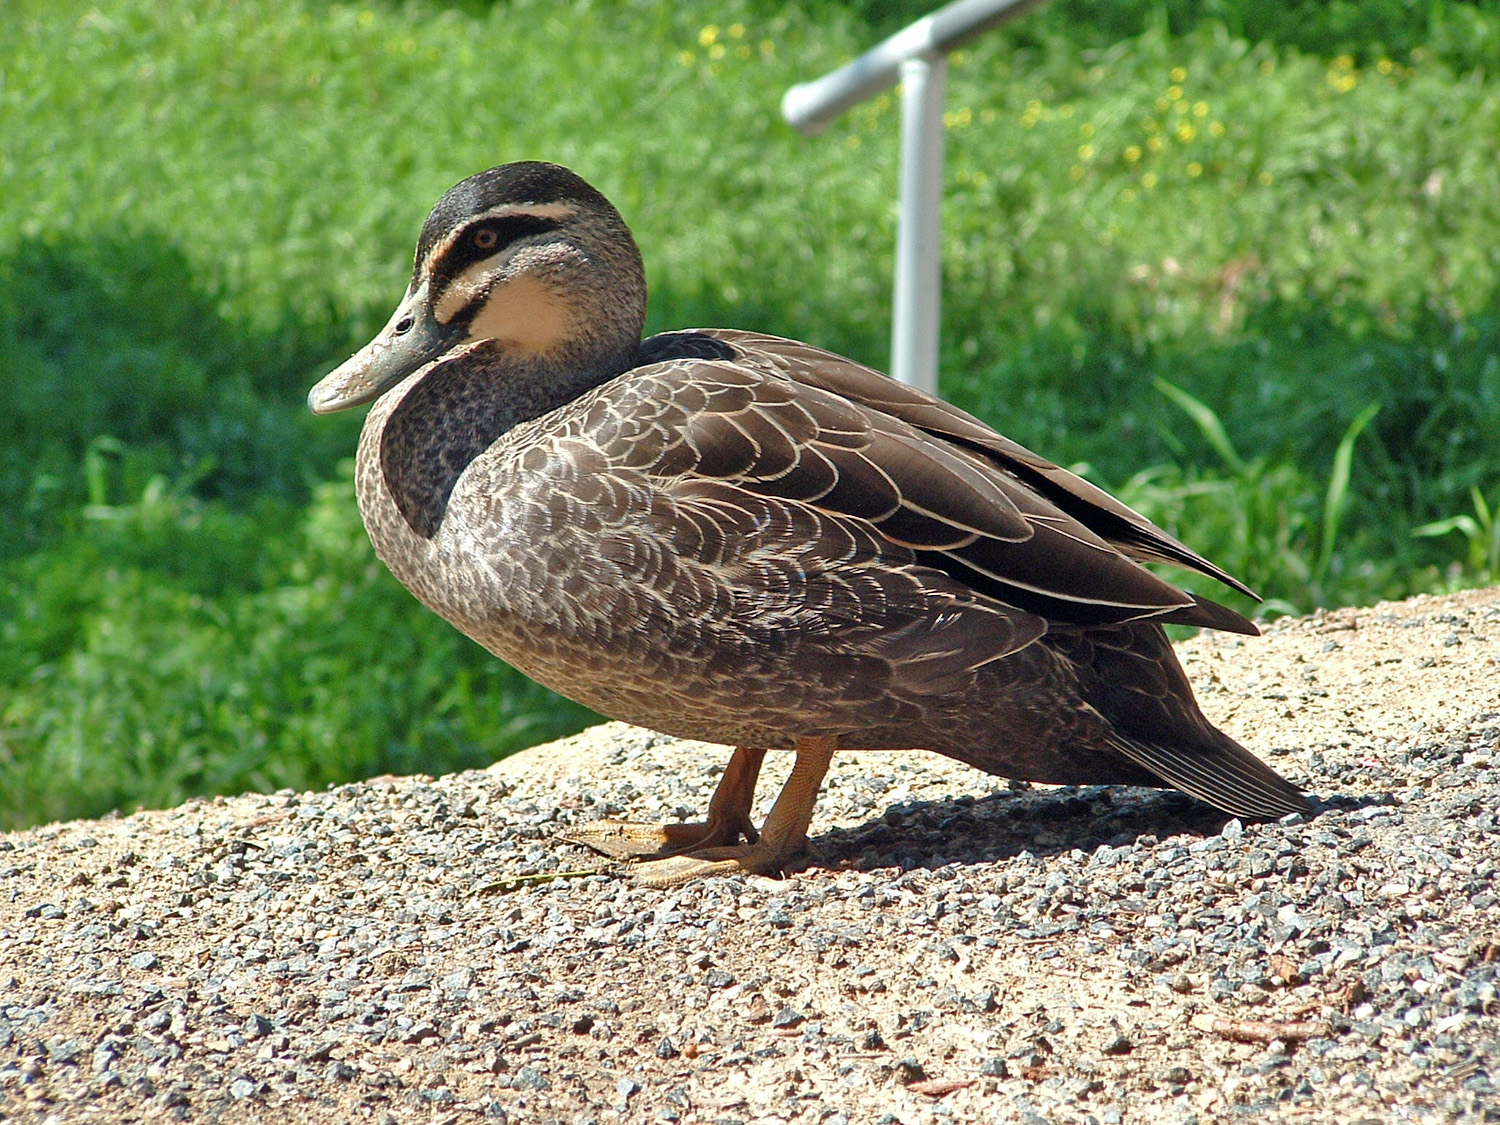
Mud snails can live up to 1 year, not that long, right? Their predators are grey ducks, mallard ducks, black swans and New Zealand scaups.


I have it up there, but that's not the full status of the species yet. Potamopyrgus antipodarum is an invasive sea insect. They belong to the kingdom of Animalia, phylum: Mollusca, class: Gastropoda, to find out more visit New Zealand mud snails - Wikipedia.
(Might need to open the link in another tab)
Friday 24 March 2017
Be careful it might pop!
Technicraft: Experimenting with Acetic Acid and Bicarbonate of soda.
Materials - first test:
- Ziplock bag
- 20 mls of Acetic Acid (malt vinegar)
- 5 mls of Bicarbonate of Soda (baking soda)
Procedure:
- Open the ziplock bag ready for testing.
- Place your index and middle finger on the right side of the bag between the blue and yellow lines.
- Put the Bicarbonate of Soda in one corner and twist above where it was poured.
- Tilt it to the other side and pour the Acetic Acid on the other side.
- Close the bag and release the Bicarbonate of Soda.
- Shake the bag quickly.
- Listen closely to the bag, what do you hear.
- Place it on your cheek, what is the temperature.
- Leave it for a few minutes and come back, what is the residue.
- Observe and record what happened.
Results and Evaluation
The combination of the acetic acid and bicarbonate of soda caused a chemical reaction. The soda bubbled up and the bag filled up carbon dioxide, the test is a success!
DREAM BIG DREAMS - BECOME SCIENTISTS!!!
Monday 20 March 2017
This is SCIENCE!!!
Investigating three types of matter, using shaving cream.
The first activity's materials is:
- Shaving cream
- 10 cents
- Magnifying glass
- Paper towel
Procedure:
- Place the folded paper towel on the table.
- Place a 10 cents coin on the middle of the paper towel just to ready it for later.
- Spray shaving foam on each end of the paper towel.
- Put the 10 cents coin on top of one end you sprayed shaving cream on.
- Observe it, is it sinking or sliding.
- Take a magnifying glass and look closely to the coin to see if it is actually sinking.
- Put a bit of the one on the other end on your index finger and start rubbing it with your thumb, what do you notice?
- Have a bit of fun with the other side and look at the coin, did it sink, if yes, you have found out it is a liquid.
Sunday 12 March 2017
Make a change EVERYBODY!
Learning Intention: We are learning how to persuade people to make a change! By using direct language to inform but also make readers make a change.
Success Criteria: I know I can do this when I use direct language to inform people to make a change.
Friday 3 March 2017
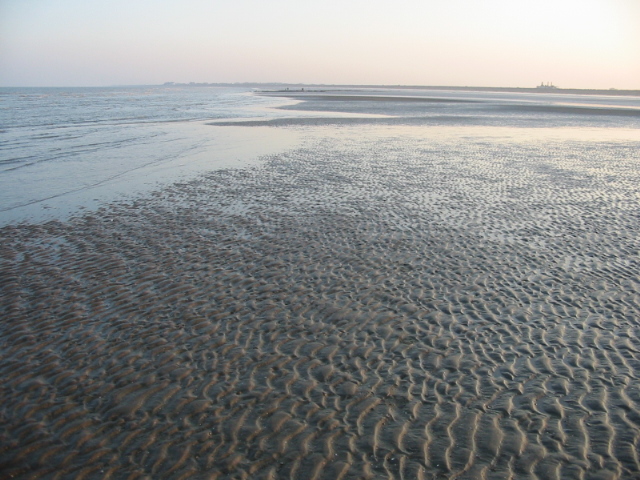
Low tides can be very far sometimes!
Low tide
I walk beside you
across mudflats in
my blue gumboots,
over crackling oyster
shells, green-ribbed pipi,
the traces of wading birds.
When the tide is out, what lies exposed:
river threads of mud, old brown stones
tiny mussels yet to grow:
my sole prints left
on the ocean's
bones.
By: Sarah Penwarden
Friday 24 February 2017
Bubbles is a very good topic for science!
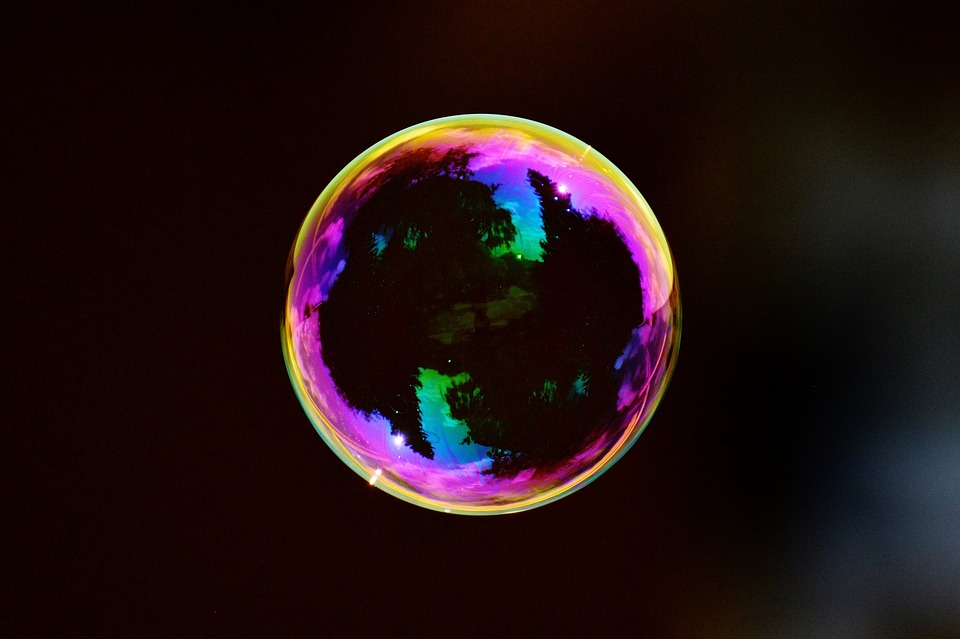 Today, Thursday 23rd of February, we had our 4th week's lesson of science, BUBBLES! This week we did fair tests. There was 5 plastic cups or beakers, according to our teacher, on the big blue table. Then she put 100 ml of water in each cup. What happened next was we put 10 ml of detergent into the 5 plastic cups. After that she gave us a red tablespoon and 4 beakers. Each beaker contained glycerin, glucose, sugar and salt. We put those things in the beaker in the 4 cups and left one with only soap in it. Next Miss Gawith gave us bubble blowers and blew bubbles from each of the cups and recorded how long it lasted. The results were good, some of them stayed for a long time and some of them didn't. We had to add the scores together but I didn't quite finished it, but I still enjoyed it.
Monday 13 February 2017
Friday 10 February 2017
Subscribe to:
Posts (Atom)