Pages

Thursday, 27 July 2017

Wow, sketching really get's your boredness away!!!


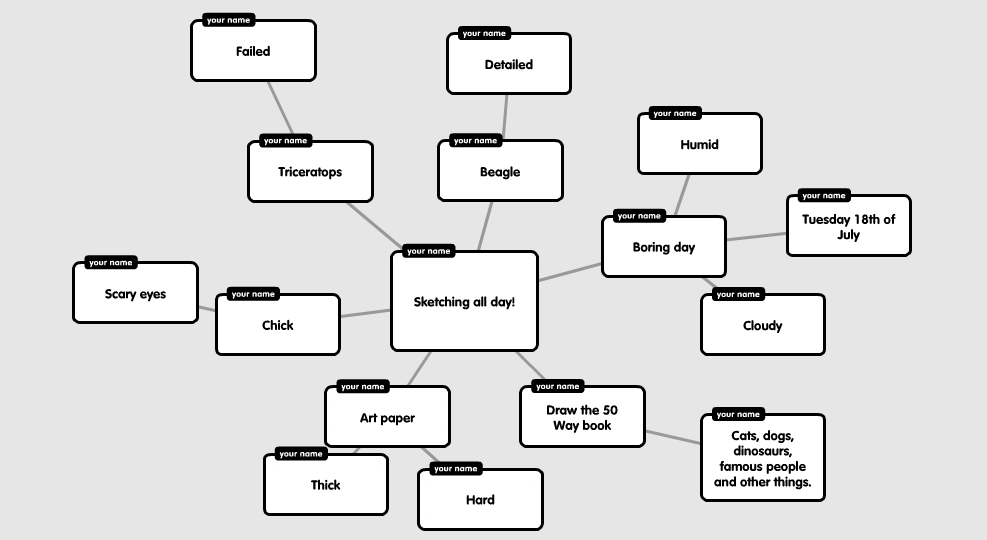
There was that one day in the holidays. It wasn't a very nice and happy day, but a boring and humid day. It was Tuesday 18th of July when I noticed that we borrowed a drawing book from the library the day before, Draw the 50 Way. I asked my sister, "Can I borrow one of you art paper?" And she agreed. So as I take the paper from my sister's grip, I felt the thick and firm feeling of the paper. I took a pencil and started flipping the pages nervously.

I flipped the every page before the drawing I picked, a Triceratops. It looked quite easy, that's how it got my attention. I started with an oval and long line probably a centimeter and 2 millimeters beneath. It was for lining up the feet and the tail. Well, after that, I drew the tail and few of the legs and the head. Then I continued and as I got halfway through the drawing I made a few silly mistakes, so I took the rubber from my sister's pencil case. How long is this going to take, I thought. It's been 25 minutes since I drew the big oval. When I finished, I rubbed everything off and drew the outlines. It went kind of well on the body, but not the head, I didn't sketch it out. Instead, I drew it in a line art way. Well, that was a fail.

The next one I drew was a chick, now this was easy. You don't need to rub off anything at the end. And that's not the only thing I liked about it, it had shading details. I started drawing, but this time, excitedly. I started with a small, horizontal oval and a horizontal curved line lying on the left-hand-side of it. As I continued, I got more excited that I made a lot of mistakes that I even had to rub all of it all, so I started again, calmly. When I got to the end, I noticed the beak. The thing I noticed was it looked like the beak was connected to the head like it's meant to have feathers too. So I drew a line to separate it. It still had scary eyes though.

I thought I was done, but something caught my eye, it was a drawing of a beagle. It was like the chick, but we had to rub the whole thing off in the end. But I drew it anyway. I decided that I should do a quick sketch. And when I finished, my sister noticed that I did line art. So I did the whole thing again. You know how hard it is? I rubbed the whole thing off and started sketching and that took more than 15 minutes. When it was close to its ending, I rubbed everything off and drew what I had to draw and shaded what I had to shade. It went well, it kind of looked like the one from the book, except, the head was a bit short. But I still liked it.

Well, that was one way to make a boring day into an interesting day of the holidays.

Wednesday, 14 June 2017

I better hurry up on my movable character!

Today was my day, this was the day when we make our movable character. I started on my character but didn't finish it, but if I started on the work, that means I know what to actually do. These are the materials for making it:

  • Piece of wood
  • Copy of a character you want (examples: Nightwing, Superman, etc.)
  • Transfer ink paper
  • Wood tracing burner
  • Paint tray
  • Paint
  • Primer spray paint
  • Scroll saw
  • Safety glasses
  • Drill
  • Nuts and bolts

Procedure
  1. Take a piece of wood (20 cm x 15 cm) and make sure it isn't that thick so you can.
  2. Print out a copy of a character you would like and make sure it has the right size.
  3. Cut around the image of the character you chose.
  4. Get a transfer ink paper and tape it on the piece of wood.
  5. Do the same with the character, tape it on top of the transfer paper.
  6. Start drawing the outline of the character.
  7. Take just the transfer paper by the tape and you can see that it's probably exactly like the actual image.
  8. Ask an adult to run a scroll saw and while waiting, mark around your character with a pencil on where you're going to cut.
  9. Before cutting, get yourself safety glasses just to protect your eyes.
  10. Move your character forward and press it down the table while cutting, but turn it so you can get the shape that you want for it.
  11. Cut the arms, legs and even head if you want the head to move and drill holes at the edges, chin for the head, shoulder for the arms and the upper thigh for the legs.
  12. Put the bolts through the holes and the nuts after.


And you've made it, your movable character!!!

My fridge magnet was too big!

Today was a foggy day of Technicraft. I didn't really catch up to the other students, but I know what they did. We've been focusing on making fridge magnets, and these are the materials on making it:

  • Piece of wood
  • Copy of a character you want (examples: Iron man, Batman, etc.)
  • Transfer ink paper
  • Wood tracing burner
  • Paint tray
  • Paint
  • Primer spray paint
  • Scroll saw
  • Safety glasses
  • Stick-on magnet or Magnetic tape

Procedure:
  1. Take a piece of wood (22.5 cm x 15 cm) and make sure it's not too thick.
  2. Print out a copy of a character you would like and make sure it has the right size.
  3. Cut around the image of the character you chose.
  4. Get a transfer ink paper and tape it on the piece of wood.
  5. Do the same with the character, tape it on top of the transfer paper.
  6. Start drawing on the outline of the character.
  7. Take just the transfer paper by the tape and you can see that it's probably exactly like the actual image.
  8. Ask an adult to run a scroll saw and while waiting, mark around your character with a pencil on where you're going to cut.
  9. Before cutting, get yourself safety glasses just to protect your eyes.
  10. Move your character forward while cutting, but turn it so you can get the shape that you want for it.
  11. Put a stick-on magnet behind the wood after you've cut your character.


And there you have it, your magnificent fridge magnet!!!

Respect, do that often, will you!

Image result for Respect
We have to respect each other!!!
Sign of respect

Congratulations when you treat others as you want to be treated
Speak courteously to everyone
Take special care to other's belongings
Honor the rules of your family, school, and nation
Expect respect for your body and your rights
Listen to older people that you can trust like you parents and teachers.

Monday, 10 April 2017

Life among the mangroves!

Mud snails are little creatures that live close or even on the mangroves in our estuary. They are freshwater insects that has different shells from the common snails you see from your backyard. These are the ones!
Screenshot 2017-04-07 at 12.35.31.png
Image result for mud snail diagram

I already have it up on the first paragraph, mud snails live around mangroves, sea or land. They eat mostly blue-green bacteria, microscopic diatoms and sea lettuce. These are some pictures of what I just wrote:
Image result for blue green bacteriaImage result for microscopic images of diatomsImage result for sea lettuce
Mud snails can live up to 1 year, not that long, right? Their predators are grey ducks, mallard ducks, black swans and New Zealand scaups.
Image result for mallard duck nzImage result for nz scaupImage result for grey duck nz

I have it up there, but that's not the full status of the species yet. Potamopyrgus antipodarum is an invasive sea insect. They belong to the kingdom of Animalia, phylum: Mollusca, class: Gastropoda, to find out more visit New Zealand mud snails - Wikipedia.
(Might need to open the link in another tab)